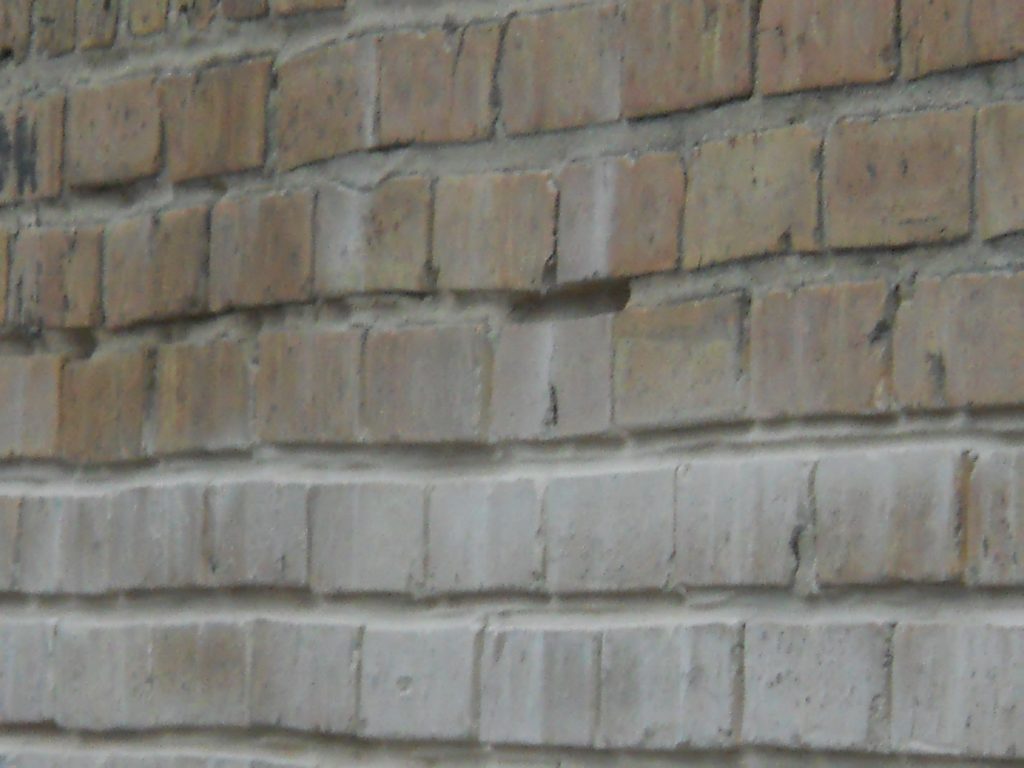
Most property managers and HOA board members approve masonry contracts without a clear picture of what the work actually involves. The proposal describes deliverables in general terms. The scope gets approved. Work begins. Whether it was done correctly is difficult to assess after the fact because properly completed repointing looks similar to improperly completed repointing from the street.
This guide describes the repointing process on a commercial multi-unit building from start to finish, covering what each step involves, what can go wrong, and how to verify that the work meets the standard it should.
Pre-Project Assessment
Before any mortar is removed, a thorough repointing project begins with a facade assessment. On a commercial building, this should cover the full perimeter, including areas that are not immediately visible from grade level. A scaffold or lift assessment is more thorough than a ground-level visual. Key observations include:
- Joint condition by elevation: Mortar deterioration is rarely uniform. South- and west-facing facades typically deteriorate faster due to sun exposure and prevailing weather. High parapets are often the worst-affected area because they are exposed on three or four sides and receive no overhang protection.
- Previous repair areas: Mortar in a different color or with a different texture from surrounding joints indicates prior repointing. These areas should be assessed for compatibility and condition.
- Spalling or brick damage: Areas where brick faces are eroding adjacent to joints suggest prior incompatible mortar. These areas require more than repointing.
- Lintel and shelf angle condition: Steel lintels and shelf angles corrode over time. Corroding steel expands and pushes brick out of plane. Repointing without addressing failing lintels is incomplete work.
- Crack patterns: Stair-step cracks through mortar joints indicate differential settlement. Horizontal cracks through mortar joints on upper floors may indicate lintel failure. These are structural observations that should be documented and addressed before cosmetic repointing.
A good pre-project assessment produces a priority list that separates urgent structural repairs from maintenance repointing. This is useful for associations managing multi-year budgets.
Joint Raking: The Most Critical Step
Joint raking is the removal of deteriorated mortar to a specified depth before the joint is repacked with fresh material. It is the step that most distinguishes competent repointing from inadequate repointing, and it is the step most difficult to verify after the fact.
The minimum acceptable raking depth for commercial repointing is 3/4 inch from the face of the joint. This depth ensures that the new mortar has enough volume to develop an adequate bond with the masonry on both sides of the joint. Mortar packed into a shallower recess is essentially a veneer. It will bond weakly, crack, and fall out in a few seasons.
Raking should be done mechanically with an angle grinder fitted with a carbide-tipped blade, or with oscillating tools on narrow joints. Hammer and chisel is acceptable for spot repairs and for areas inaccessible to power tools. Chemical raking agents are not appropriate: they introduce acid into the masonry and can damage the brick surface and leave residue that inhibits bonding.
After raking, the joint should be blown clean with compressed air and dampened before mortar is applied. Dry masonry draws water out of fresh mortar too quickly, inhibiting hydration and weakening the set.
How to verify raking depth: Request that the contractor demonstrate raking depth at the start of work. A 3/4 inch depth gauge or a standard pocket tape can be inserted into the raked joint before mortar is applied. This is a reasonable request and any reputable contractor will accommodate it.
Mortar Preparation
Mortar for a commercial repointing project should be specified before work begins, not mixed from whatever is on the truck. The specification should address:
- Type: Per ASTM C270, typically Type N for historic brick, Type S for modern construction, or a custom lime-based formulation for pre-1920 masonry.
- Color: Matched to the existing joint color using cured mortar samples, not wet.
- Sand gradation: Sand particle size affects the finished texture and color of the joint. Standard masonry sand and river sand produce different appearances.
- Water ratio: Mortar mixed too wet is weak. Mortar mixed too dry is difficult to pack and bond. The consistency should be stiff enough to hold a thumbprint without slumping.
Batch consistency matters on a large project. If mortar is mixed differently from batch to batch, the joint color will vary across the facade. Setting up a consistent water-to-mix ratio and measuring it by volume rather than by eye produces uniform results.
Application Sequence
On a multi-story facade, work proceeds from top to bottom. This prevents mortar droppings from soiling completed work below.
Within each section, horizontal joints (called beds) are typically filled before vertical joints (called perps or headers). This follows the structural logic of the masonry: horizontal joints carry more of the wall load and should be addressed first.
Mortar is packed into the joint in lifts. For a deep joint, a first lift fills the back of the recess and is allowed to stiffen before a second lift brings the joint to finish depth. Packing all mortar in a single deep lift can cause the mortar to sag or crack before it sets. Two lifts on deep joints produce better results.
Tooling the Joint Face
Once the mortar has stiffened to thumbnail hardness, the joint face is tooled to its finished profile. The timing matters. Tool too early and the mortar smears and drags. Tool too late and it is too hard to compress properly. The experienced standard is to tool when a thumb pressed into the mortar leaves a clean impression without the mortar sticking to the thumb.
The joint profile should match the original construction. Common profiles on Chicago’s historic building stock include the slightly concave (bucket handle) joint and the flush joint. A concave profile sheds water slightly better than a flush joint. Both are acceptable. A “weathered” profile, where the top of the joint projects forward of the bottom, is rarely original on Chicago buildings and is not appropriate for general repointing.
After tooling, the surrounding brick face is cleaned of mortar droppings and smears before the material hardens. Clean-up of hardened mortar requires more aggressive methods that can damage the brick surface.
Curing
Mortar cures by hydration, not by drying. Mortar that dries too fast, in hot dry conditions or direct sun, is weaker than mortar that cures slowly with adequate moisture. On hot days, freshly tooled joints should be misted periodically for the first 24 hours to slow the drying rate.
Cold weather creates a different problem. Mortar should not be applied when air temperatures are below 40 degrees Fahrenheit or when temperatures are expected to fall below 40 within 24 hours of application. Mortar that freezes before it has set is permanently weakened. Some contractors work in cold weather using heated enclosures and admixtures, but these are specialized conditions that require careful management.
Completion Walk-Through
At project close, the foreman should walk the completed work with the property manager or owner’s representative. The walk-through should cover:
- Joint color consistency across the treated areas
- Joint profile uniformity
- Cleanliness of the brick face adjacent to new joints
- Any areas identified during work that were added to or subtracted from the original scope
- Identification of areas outside the scope that warrant future attention
A written punch list from the walk-through, with identified items addressed before final payment, protects both parties.
What Properly Completed Work Looks Like
Properly completed repointing is difficult to distinguish from original construction. The joint color matches the surrounding original mortar closely. The joint profile is consistent. The brick faces are clean. There are no voids, cracks, or areas where mortar was smeared across the brick face and not cleaned. The work does not call attention to itself.
Improperly completed work is recognizable by several signs: mortar color inconsistency across the facade, shallow joints that are already cracking at the edges, mortar smeared across brick faces, voids at the edges of joints where mortar did not pack fully, and in extreme cases, visible tool marks on the brick face where aggressive raking damaged the surface.
The standard for commercial repointing is work that could have been there from the beginning. If it looks like a repair, something was done incorrectly.
Sources
- National Park Service. (2019). Preservation Brief 2: Repointing Mortar Joints in Historic Masonry Buildings. U.S. Department of the Interior.
- ASTM International. ASTM C270: Standard Specification for Mortar for Unit Masonry.
- Masonry Contractors Association of America. Technical Resources: Repointing and Tuckpointing. MCAA.
- Brick Industry Association. (2006). Technical Notes on Brick Construction: Mortars for Brick Masonry. BIA Technical Note 8.
- Brick Industry Association. (2005). Technical Notes on Brick Construction: Brick Masonry Detail. BIA Technical Note 7.
- International Masonry Institute. Masonry Design and Detailing. Sixth Edition.